The structure is up, the sheets are on their way, and you want this roof to stay dry for decades. The worry is simple: one wrong lap or loose screw, and water ends up on a brand-new ceiling in the first summer storm.
Here is the short version of how to install IBR roof sheeting properly. Check that the purlins are straight and spaced for your sheet thickness, and start at the end of the roof away from the prevailing wind.
Lay each sheet so its side lap sits over the last one, fix through the ribs into every purlin with the right screws, seal end laps on low pitches, and finish with stop ends, flashings and a clean roof.
This guide walks through every step, with the figures South African manufacturers publish and the mistakes that cause most leaks.
What is IBR roof sheeting?
IBR stands for Inverted Box Rib. It is a steel sheet with square, flat-topped ribs that carry water off the roof. A standard IBR 686 sheet has five ribs at 171.5 mm centres, a rib height of 37 mm, and covers 686 mm of roof width once it is lapped (GRS IBR 686 specification).
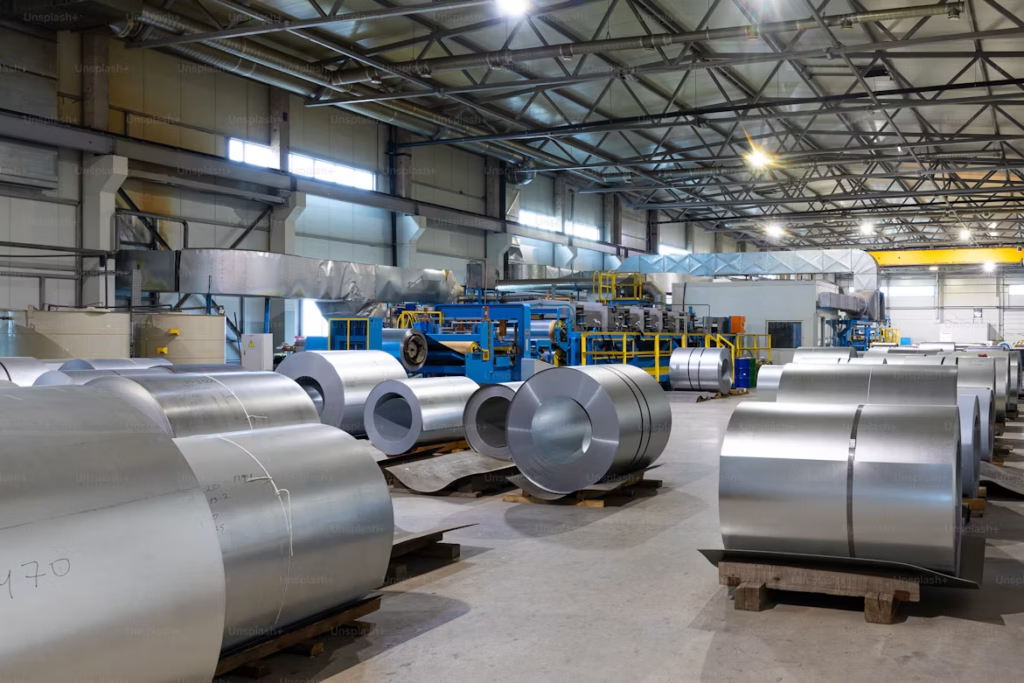
We roll-form IBR in Pretoria in galvanised steel from 0.3 mm to 0.5 mm thick, and in Chromadek® at 0.5 mm, cut to any length up to 13 m.
Tools and materials checklist
| Item | What to look for |
|---|---|
| IBR sheets | Cut to length for each slope. Number of sheets = length of the roof divided by 0.686 m, rounded up. |
| Screws for steel purlins | About 65 mm self-drilling roofing screws with sealing washers. |
| Screws for timber purlins | About 85 mm to 90 mm timber roofing screws with sealing washers. |
| Side-lap stitching screws | Short screws (around 22 mm) that stitch sheets together along the side lap. |
| Flashings | Ridge, barge, sidewall and headwall flashings to suit your roof. |
| Closures | Foam or serrated closures that block the rib openings at the ridge and eaves. |
| End-lap sealing strip | Only if sheets must be lapped end to end. |
| Drill or impact driver | With a clutch or depth setting, so screws are not overtightened. |
| Tin snips or a nibbler | For cutting sheets. Keep angle grinders away from the roof. |
| String line, tape and square | For setting out the first sheet. |
| Fall protection | Harness and anchor points, or edge protection. |
Before you climb up: safety first
A roof is a dangerous place to work, and a fall can change your life in a second.
- Never work alone.
- Walk only on the purlin lines, never in the pan of a sheet between purlins.
- Do not work in wind, rain or when a storm is building.
- On a construction site, South Africa’s Construction Regulations require a fall protection plan for work at height, so follow the site’s plan.
If you are not trained to work at height, hire a roofer and use this guide to check the work.
How to install IBR roof sheeting: the 11 steps
Step 1: Check the purlins and structure
Purlins are the horizontal steel or timber members the sheets are screwed to. Before a single sheet goes up, check that:
- The purlins are straight, level and in one plane, so the sheets do not twist.
- They are spaced correctly for your sheet thickness. For 0.47 mm and 0.5 mm IBR, Global Roofing Solutions (GRS) allows up to 1.70 m for end spans and 1.80 m for internal spans, while Clotan Steel gives 1.50 m for a single span (Clotan IBR brochure).
- The frame is square. Measure both diagonals. If they match, it is square.
Our guide to IBR purlin spacing has the full table by thickness, including what to do with thinner 0.3 mm and 0.4 mm sheets.
Step 2: Confirm the roof pitch suits IBR
Roof pitch is the angle of the roof slope. GRS and Clotan both rate IBR for a minimum pitch of 5° on rafter lengths up to 30 m, and 7.5° on longer rafters.
Any flatter, and water can back up over the laps. See our guide to the minimum roof pitch for IBR for how to measure your pitch and what to do if it is too flat.
Step 3: Measure and order sheets to the right length
Measure each slope from the ridge purlin down to the eaves, then add the overhang into the gutter. Measure every slope separately, because older buildings are rarely perfectly square.
Order one sheet length per slope wherever you can. We roll IBR up to 13 m long, so most house and carport roofs can be covered from eaves to ridge with no end laps at all. That removes one of the most common leak points before you even start.
Got your measurements? Send them through our quote form with your thickness and finish, and we will roll every sheet to the millimetre.
Step 4: Store and lift the sheets carefully
GRS advises keeping IBR sheets supported clear of the ground, under well-ventilated cover and away from cement, lime and abrasive dust until they are installed. Sheets stacked wet can develop white rust, a powdery stain where the zinc coating corrodes.
Lift sheets by the edges, carry them on edge, and never drag one sheet across another. Scratches through the coating are where rust starts.
Step 5: Set out the first sheet square
Start at the end of the roof away from the prevailing wind, so every side lap faces away from wind-driven rain.
Run a string line along the eaves. Place the first sheet so its edge rib is square to the eaves and overhangs the gable by the amount your barge flashing needs. Fix it lightly at each end, check it is square, then fix it fully.
Every four or five sheets, measure the cover at the top and the bottom of the last sheet. If the two measurements differ, the sheets are creeping out of square. Correct it gradually over the next few sheets rather than all at once.
Step 6: Get the side lap the right way round
The side lap is where the edge rib of one sheet overlaps the edge rib of the next. Clotan’s installation instructions say sheets must be laid with the narrow flute of the side lap uppermost. In practice, each new sheet’s edge rib sits over the previous sheet’s edge rib, with the lap facing away from the prevailing weather.
Stitch the side laps together with short stitching screws. GRS’s IBR detail shows side-lap stitching screws at 600 mm centres.
A side lap laid the wrong way, or left unstitched, lets wind drive water sideways under the sheet. It is a classic cause of leaks that seem to come from nowhere.
Step 7: Fix every sheet through the ribs
On a roof, screws go through the crest (the top) of the ribs, not through the flat pan where the water runs. Clotan says to fix through the crests of alternate flutes into every purlin, and GRS’s IBR 686 detail shows main fasteners in every alternate rib. Follow the fixing diagram from the manufacturer of your sheet, especially on exposed sites.
Use the right screw for the purlin:
- Steel purlins: about 65 mm self-drilling screws with sealing washers. GRS specifies a #12-14 x 65 mm hex-head screw with an EPDM seal, a rubber washer that seals the hole.
- Timber purlins: 85 mm to 90 mm timber roofing screws with sealing washers.
Drive each screw square to the sheet and stop when the washer is snug and just starting to compress. An overtightened screw crushes the washer and dents the rib. An undertightened one leaks.
Our guide to roofing screws explains the types and coatings. GRS also says fasteners should be chosen to match the life expectancy of the roof, using the coating classes in SANS 1273.
Step 8: Handle end laps and long roofs properly
If a slope is longer than one sheet, the upper sheet must lap over the lower one, never the other way round. Clotan recommends a minimum end lap of 150 mm on roofs steeper than 15°, and 250 mm on flatter roofs, with end and side laps sealed on low-pitch roofs. GRS goes further and says end laps must be sealed with an approved sealing strip in all conditions.
Steel expands and contracts as it heats and cools. On very long roofs, GRS recommends that the distance between the top and bottom rows of fasteners should not exceed 24 m for crest fixing. Beyond that, a step lap, which works as an expansion joint, is needed.
Step 9: Form stop ends and drips
At the ridge, turn up the pans of each sheet to form a stop end, a small dam that stops wind pushing water uphill under the ridge flashing. At the eaves, turn the pans down slightly to form a drip, so water falls into the gutter instead of running back under the sheet. Both details appear in GRS’s IBR assembly drawings.
A stop-end tool or a pair of wide pliers does the job.
Step 10: Fit closures, flashings and ridge capping
Fit closures into the rib openings at the ridge and eaves to keep out wind-driven rain, birds and insects. Then fit the flashings:
- Ridge flashing along the top of a double-pitch roof.
- Barge flashing along the gable edges.
- Sidewall flashing where the side of the roof meets a wall.
- Headwall flashing where the top of a lean-to meets a wall.
Lap flashings in the direction the water flows and fix them into the ribs with stitching screws. We bend galvanised and Chromadek® flashings to your measurements, so they match your sheets.
Step 11: Clean up and check
Sweep off every bit of swarf, the metal filings left by drilling and cutting, the same day. Building guidance from RMIT says metal particles and debris should be swept from the sheeting, flashings and gutters as soon as possible (RMIT Learning Lab), and GRS says the finished roof must be kept clean of swarf and debris. Left on the roof, swarf rusts and leaves orange stains that look as if the roof itself is rusting.
Then walk the roof on the purlin lines and check every screw. If you can, run a hose over the laps and flashings and check inside for drips before the ceiling goes in.
The most common IBR installation mistakes
| Mistake | What happens | How to avoid it |
|---|---|---|
| Side lap laid the wrong way | Wind drives rain under the lap | Start away from the prevailing wind and lay the side lap correctly |
| Screws in the pan instead of the rib | Water pools around the screw and leaks | Fix through the crest of the ribs on roofs |
| Overtightened screws | Crushed washers and dented ribs that leak | Use a clutch and stop when the washer just compresses |
| Purlins too far apart | Sheets flex, dent and pull at the screws | Check the spacing for your thickness |
| Unsealed end laps on a low pitch | Water is drawn back up the lap | Use one-length sheets, or seal the laps |
| Cutting with an angle grinder | Hot particles burn into the coating | Use snips or a nibbler, away from stacked sheets |
| Swarf left on the roof | Orange rust spots and stains | Sweep the roof the same day |
| No stop ends at the ridge | Wind pushes water under the ridge flashing | Turn up every pan at the top of the sheet |
Should you do it yourself or hire a roofer?
A careful DIYer with the right safety gear can sheet a simple shed, carport or lean-to. For a house, a double-storey building or a steep roof, hire an experienced roofer.
Even then, knowing these steps lets you check the work. Ask your roofer three questions before they start: which way the side laps will face, how many screws go into each purlin, and how the end laps will be sealed.
Frequently asked questions
Which way up does IBR roof sheeting go?
On a roof, the narrow ribs face up and the broad pans carry the water. On walls, IBR is often fixed the other way, with the broad flutes facing out.
Do you screw IBR sheets on the rib or in the pan?
On roofs, through the crest of the rib, so the screw sits above the running water. Screws in the pan sit in water every time it rains and are a common cause of leaks.
What screws should I use for IBR on steel purlins?
Self-drilling roofing screws about 65 mm long with sealing washers, such as the #12-14 x 65 mm hex-head screw with an EPDM seal that GRS specifies for steel purlins.
Can I cut IBR sheets on site?
Yes, with tin snips or a nibbler. Keep angle grinders away from the roof, because hot particles burn into the coating. Better still, order sheets cut to length so you hardly need to cut at all.
What is the minimum pitch for IBR roof sheeting?
5° for rafter lengths up to 30 m and 7.5° for longer rafters, according to South African manufacturers GRS and Clotan.
Planning an IBR roof? We stock galvanised IBR from 0.3 mm to 0.5 mm and Chromadek® IBR at 0.5 mm, rolled to your exact lengths in Pretoria. Request a quote and we will price the sheets, screws and flashings together.
Reviewed by the Roofsheeting Warehouse team in Pretoria, steel roofing suppliers since 2002 and roll-forming IBR, Corrugated and Widespan in-house since 2010.